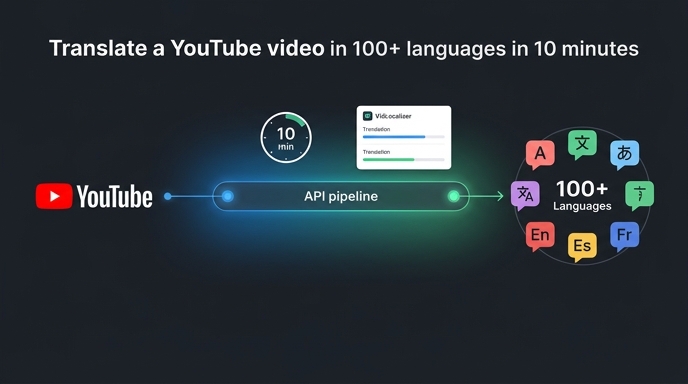
You've heard the advice a hundred times: translate your content, go global, reach billions. It sounds amazing. Then reality hits. Hiring translators for 100 languages? That's months of work and a budget you don't have. So you park the idea and go back to uploading in one language, hoping the algorithm somehow finds you a miracle. Here's the thing: VidLocalizer already solved the hard part. YouTube's API does the rest. This tutorial will take you from zero to 100+ languages in under ten minutes. No translators. No waiting. No excuses.
What You Need Before You Start
Three things. A YouTube channel with at least one video. A VidLocalizer account. Ten minutes of uninterrupted time. That's the entire checklist. You don't need a production team. You don't need to speak any other languages. You don't need to re-upload anything. The tool works through YouTube's official API, which means everything happens on YouTube's servers. Your videos stay exactly where they are. Only the metadata changes.
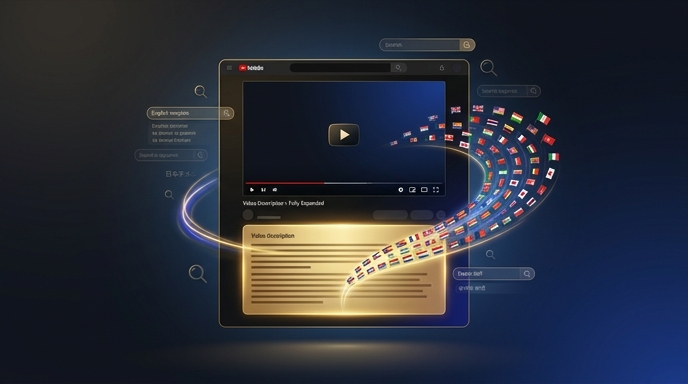
The YouTube API is the secret here. It lets authorised tools push translations directly into your video settings — titles, descriptions, subtitle tracks — and YouTube treats them as native content. Not third-party overlays. Not auto-generated captions. Native. This distinction is everything for SEO and recommendations.
Step 1: Connect Your YouTube Channel
Log into VidLocalizer. Click "Connect YouTube Channel." You'll be redirected to Google's official OAuth screen. This is the same secure login process used by every YouTube-certified tool. Select the Google account linked to your YouTube channel. Grant the necessary permissions — VidLocalizer needs access to manage your video metadata and upload subtitles. That's it. Your channel is connected.
The OAuth process takes roughly thirty seconds. YouTube verifies the connection instantly. Once authorised, you'll see your channel name and subscriber count right inside the VidLocalizer dashboard. No API keys to copy-paste. No developer console. Just a standard Google login like you've done a thousand times.
Step 2: Select Your Videos
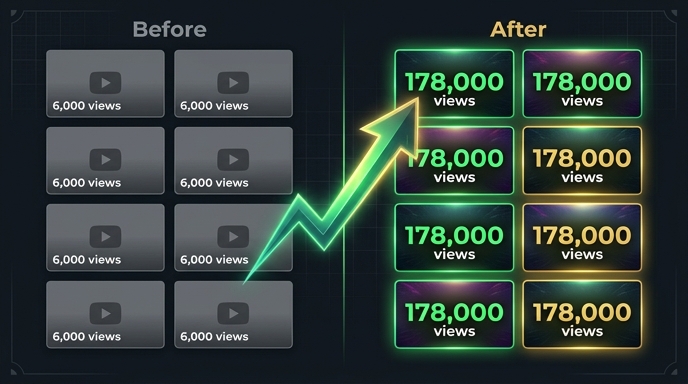
VidLocalizer pulls your entire video library. Every upload appears in a list with thumbnails, titles, and current view counts. You can select videos individually or bulk-select your entire channel. For your first run, I recommend selecting your top five performers — videos that already have good retention but are only available in one language. These are primed for global expansion.
Alternatively, go for your sleepers. Videos with great content but terrible reach. The algorithm gave up on them in your native language, but it hasn't tested them in Portuguese, Indonesian, or Turkish. Translation gives those videos a second chance with entirely new audiences.
Step 3: Choose Your Languages
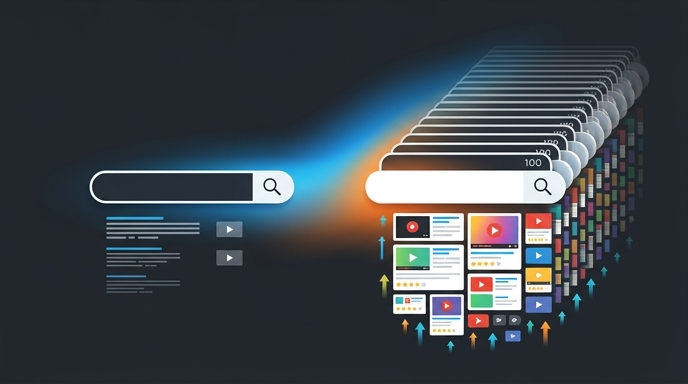
Here's where most tutorials get vague. They say "translate into some languages" and move on. I'll be specific. VidLocalizer supports 100+ languages. You can select all of them with one click. Yes, all. YouTube's API has no penalty for multiple subtitle tracks. There's no SEO downside. Each language is a separate entry point for a separate market. Adding Portuguese doesn't dilute your Russian rankings. It creates new rankings in a new language.
The one-click "Select All" option is the smart default. Why manually pick and guess which markets will work? Let the algorithm figure it out. Push translations into 100+ languages and watch your geography report in YouTube Studio two weeks later. The data will tell you which markets responded. Then double down on those languages for future videos.
Step 4: Review and Push
VidLocalizer generates translations for titles, descriptions, and subtitles. You can review them if you want — the interface shows a preview for each language. But if you're aiming for speed, skip the review. The translations are production-quality and formatted correctly for YouTube's metadata fields. Click "Push to YouTube."
The tool sends everything through the API simultaneously. One hundred languages in parallel. YouTube processes the uploads within seconds. Open YouTube Studio in a new tab. Click on any video you just processed. Go to the Subtitles tab. You'll see 100+ new subtitle tracks, each tagged with the correct language code. Go to the video details. Your title and description now exist in 100+ languages.
Step 5: Wait Two Weeks and Check Analytics
This step requires no clicking. Just wait. YouTube's recommendation engine needs time to index the new metadata and test your content against new language audiences. Two weeks is the sweet spot. Shorter than that and you're looking at incomplete data. Longer than that is fine too — some markets take a month to fully kick in.
After two weeks, open YouTube Studio. Go to Analytics. Click the Geography tab. Sort by views. If you've been monolingual until now, you'll see a massive shift. New countries appear. Brazil. Indonesia. Turkey. Vietnam. These aren't random spikes. These are audiences that could finally find your content because the titles and descriptions were finally in their language.
What Happens Next
Here's the best part: this isn't a one-time trick. Every new video you upload can be translated the same way immediately after publishing. The 10-minute workflow becomes a 2-minute habit. Upload a video. Open VidLocalizer. Push translations. Done. Your content is global from day one, not as an afterthought.
Some creators report that translated older videos actually outperform their new uploads for a while. Why? Because those old videos accumulate watch time across dozens of markets simultaneously, which signals to YouTube that the content has broad appeal. Broad appeal triggers broader recommendations. It's a flywheel.
You just did in ten minutes what most creators never do in their entire YouTube career. Your content is now visible to over four billion potential viewers. Not bad for a coffee break.
Localize your YouTube channel today
3-day free trial · 80+ languages · cancel any time