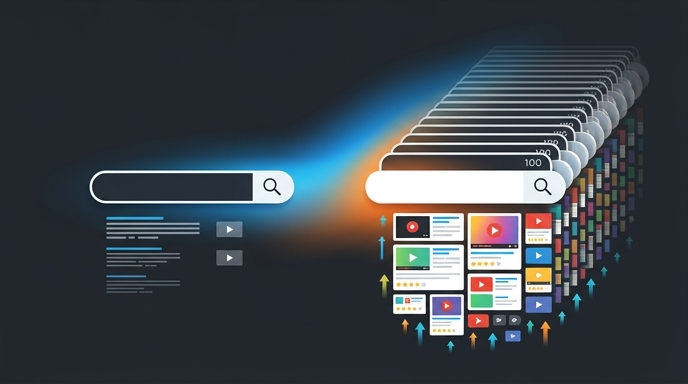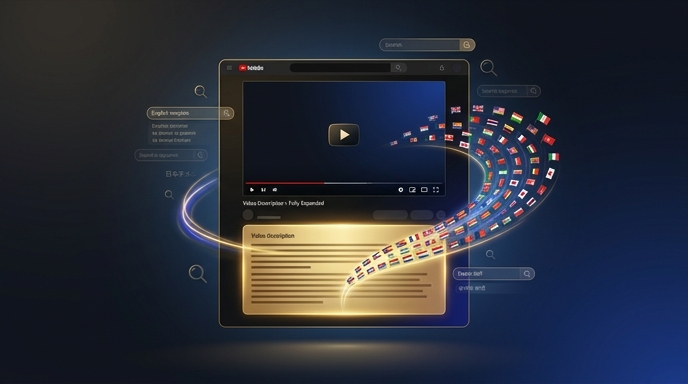
Welcome. You've made a smart decision. While other creators are stuck fighting for views in one language, you're about to open your content to over four billion potential viewers worldwide. VidLocalizer is the tool that makes it happen — connecting directly to YouTube's official API to translate your titles, descriptions, and subtitles into 100+ languages simultaneously. But before the global views start rolling in, you need to get set up. This guide covers everything from account creation to your first successful translation. Follow each step in order. By the end, you'll have a fully connected account and at least one video translated into 100+ languages. Let's begin.
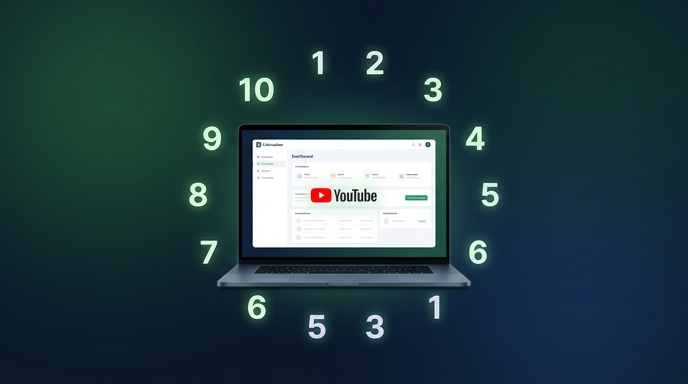
⏱ Estimated reading time: 8 minutes | ⚙️ Setup time: 15 minutes | 🔧 Difficulty: Beginner
Step 1: Creating Your VidLocalizer Account
Before anything else, you need an account. The process is straightforward and takes under two minutes.
What you need:
- A valid email address
- A password you'll remember
- A Google account linked to your YouTube channel (you'll need this in Step 2)
How to sign up:
- Open your browser and go to vidlocalizer.com
- Click the Sign Up button in the top right corner
- Enter your email address
- Create a password — make it strong, you're protecting your channel access
- Click Create Account
- Check your email for a confirmation message
- Click the confirmation link to verify your account
✅ Done. Your VidLocalizer account is active. You'll land on the main dashboard — we'll explore that in Step 3.
💡 Pro tip: Use the same email address that's linked to your YouTube channel's Google account. It makes the connection process in Step 2 even smoother.
Step 2: Connecting Your YouTube Channel
This is the step that makes everything possible. VidLocalizer works through YouTube's official API — the same infrastructure used by major media companies and YouTube-certified tools. Connecting your channel is secure, reversible, and takes about thirty seconds.
How YouTube API connection works:
- VidLocalizer uses Google OAuth 2.0 — the industry-standard secure authentication protocol
- You log in through Google's own login screen (accounts.google.com), not through VidLocalizer's website
- VidLocalizer never sees your Google password
- You can revoke access at any time through your Google Account settings
- The permissions are scoped specifically: manage video metadata, upload subtitles, read channel information
- VidLocalizer cannot delete videos, change channel settings, or access your email
Connection steps:
- On the VidLocalizer dashboard, click the "Connect YouTube Channel" button
- You'll be redirected to accounts.google.com — verify the URL in your browser bar
- Select the Google account associated with your YouTube channel
- Review the permissions screen carefully:
- ✅ Manage your YouTube videos — required to update titles and descriptions
- ✅ Upload subtitles — required to add translated subtitle tracks
- ✅ View your YouTube channel information — required to display your channel in the dashboard
- Click Allow
- You'll be redirected back to VidLocalizer
- Your channel name and subscriber count will appear on the dashboard
✅ Connection complete.
Troubleshooting connection issues:
| Problem | Solution |
|---|---|
| "Channel not found" error | Make sure you're logged into the correct Google account — the one that owns or manages your YouTube channel |
| Permissions screen doesn't appear | Check your browser's pop-up blocker — it might be blocking the OAuth window |
| Brand Account confusion | If your YouTube channel is under a Brand Account, select the Brand Account when Google prompts you after login |
| Connection drops after a few days | This is rare but can happen if you change your Google password. Simply reconnect using the same steps |
Step 3: Understanding the VidLocalizer Dashboard
After connecting your channel, take a moment to familiarise yourself with the dashboard. Knowing where everything is will save you time later.
Dashboard layout:
| Section | What It Does |
|---|---|
| Channel Info Panel | Shows your connected channel name, subscriber count, and connection status. Green dot = connected. Red dot = reconnection needed. |
| Video Library | Displays all videos from your channel, pulled automatically through the YouTube API. Shows thumbnails, titles, publish dates, and current view counts. |
| Language Selector | The list of 100+ languages you can translate into. Includes a "Select All" option at the top. |
| Translation Preview | Shows sample translations for your selected videos before you push them live. Review, edit, or approve. |
| Push Controls | The "Push to YouTube" button and progress indicator. This is where translations go live. |
| Settings & Account | Manage your subscription, reconnect your channel, or contact support. |
💡 Tip: Your video library loads directly from YouTube's servers. If you've just uploaded a new video, it might take a few minutes to appear in VidLocalizer. Click the refresh button next to the video list to sync immediately.
Step 4: Selecting Your First Videos
Don't try to translate your entire channel at once. Start with a small batch — three to five videos — to learn the workflow and see initial results.
Which videos to select first:
- ✅ Evergreen content: Tutorials, reviews, how-to guides that stay relevant
- ✅ High-retention videos: Content where viewers watch a high percentage — check YouTube Studio
- ✅ Universal topics: Content that appeals across cultures, not Russia-specific topics
- ❌ Avoid: News, trends, time-sensitive content, Russia-specific cultural topics
How to select videos:
- In the Video Library, scroll or search to find your desired videos
- Click the checkbox next to each video you want to translate
- Selected videos highlight — you'll see a count of how many are selected
- To select all visible videos, use the "Select All" checkbox at the top of the list
- Review your selection before moving to the next step
💡 Pro tip: For your first batch, pick 3 videos that have performed well in Russian but have obvious global appeal. A tech review, a cooking tutorial, and a gaming guide make a perfect test batch — three different niches to see which resonates globally.
Step 5: Choosing Your Languages
This is where the magic happens. VidLocalizer supports 100+ languages. The big question: should you pick specific languages or select all of them?
The case for "Select All":
- You don't know which markets will respond — the algorithm figures it out
- There's no penalty for having many subtitle tracks
- Each language is a separate entry point for a separate audience
- YouTube's servers handle the storage, not your channel
- It takes the same amount of time to select 100 languages as it does to select 10
The case for selective translation:
- You want to focus on specific high-potential markets first
- You plan to review translations before pushing
- Your niche genuinely only applies to certain regions
Recommendation for beginners: Select All. The data will tell you which markets work. Let the algorithm do the discovery work.
How to select languages:
- In the Language Selector panel, browse the available languages
- Click "Select All" at the top — this checks all 100+ languages instantly
- Or check individual languages if you're being selective
- Your selection is saved for this session
Step 6: Generating Translations
With videos and languages selected, you're ready to generate translations.
What gets translated:
- ✅ Video titles — the primary search ranking factor
- ✅ Video descriptions — provides search context and keywords
- ✅ Subtitle tracks — indexed for search, improves watch time
- ✅ Timestamps and chapter titles — if present in your description
How to generate:
- Verify your selected videos and languages one more time
- Click the "Generate Translations" button
- A progress indicator appears — processing time depends on:
- Number of videos selected
- Length of each video (for subtitle generation)
- Number of languages selected
- Typical processing: 1-3 minutes for a batch of 3-5 videos with all languages
- When complete, the Translation Preview panel populates
💡 What's happening technically: VidLocalizer generates translations using AI language models, formats them to YouTube's metadata specifications, and prepares them for API upload. Nothing has been pushed to YouTube yet — you can still review and edit.
Step 7: Reviewing Translations (Optional but Recommended for First Batch)
Before pushing translations live, take a moment to review them. The Translation Preview shows sample translations for each video.
How to review:
- In the Translation Preview panel, select a video from the dropdown
- Select a language to preview
- Review the translated title, description, and subtitle samples
- If you spot an issue, click the Edit icon next to any field
- Make your correction in the inline editor
- Click Save to keep your edit
- Repeat for any languages you want to verify
What to look for:
- Brand names and product names — these should remain untranslated
- Technical terms — verify they're correctly handled
- Numbers and dates — should remain accurate
- Overall readability — does it sound natural?
💡 Tip: If you speak a second language, review that one. If you don't speak any other languages, review the English translation — it's the most commonly checked. For your first batch, don't spend more than 5 minutes reviewing. The translations are production-quality. Trust the tool and push.
Step 8: Pushing Translations to YouTube
This is the moment. Everything you've set up is about to go live on your channel.
What happens when you push:
- Translated titles and descriptions are uploaded as native metadata through YouTube's API
- Translated subtitle tracks are uploaded with correct language codes
- YouTube indexes the new metadata for search in each language
- Your videos become discoverable in 100+ language markets
- The process is reversible — you can update or remove translations anytime
How to push:
- Review your Translation Preview one final time
- Click the "Push to YouTube" button
- A progress indicator shows the upload status for each video and language
- Wait for the process to complete — typically 30-90 seconds for a small batch
- When complete, you'll see a Success message with a summary:
- Number of videos updated
- Number of languages pushed per video
- Total subtitle tracks uploaded
✅ Your videos are now global.
Step 9: Verifying Your Translations on YouTube
Always verify that translations pushed correctly. YouTube Studio provides complete visibility.
How to verify:
- Open a new browser tab
- Go to YouTube Studio (studio.youtube.com)
- Navigate to Content in the left sidebar
- Find one of the videos you just translated
- Click the video thumbnail to open its details
- Click the "Subtitles" tab
You should see:
- Multiple language tracks listed with correct language codes
- Each track shows the language name (e.g., "Portuguese (Brazil)", "Indonesian")
- The number of subtitle lines per track
- The original Russian track should still be present and unchanged
- Click any translated track to preview the subtitles
- Return to the "Details" tab
- Use the language dropdown to see how your title and description appear in different languages
✅ Verification complete. If you see the subtitle tracks and translated metadata, everything pushed correctly. Your content is now accessible to viewers in 100+ languages.
Step 10: What to Do Next
Congratulations. Your first batch is live. Here's your roadmap for the next steps:
Immediate next actions:
| Timeframe | Action |
|---|---|
| Today | Translate 5-10 more of your best evergreen videos |
| This week | Build translation into your upload workflow — translate new videos immediately after publishing |
| Week 3 | Open YouTube Studio → Geography report → identify which markets are responding |
| Week 4 | Prioritise winning languages for all future translations |
| Ongoing | Translate every new upload on day one; engage with international comments |
Key links to bookmark:
- VidLocalizer Manual: vidlocalizer.com/manual.html — complete feature documentation
- YouTube Studio: studio.youtube.com — check your analytics
- Google Account Permissions: myaccount.google.com/permissions — manage or revoke VidLocalizer access
Frequently Asked Questions
Is my YouTube channel safe?
Yes. VidLocalizer uses Google's official OAuth 2.0 protocol. Your password is never shared. Access is limited to video metadata and subtitles. You can revoke access instantly through your Google Account settings.
Can I undo translations?
Yes. You can manually delete subtitle tracks through YouTube Studio, or update titles and descriptions back to Russian only. Translations are fully reversible.
Will this affect my existing Russian views?
No. Russian metadata remains unchanged. Your Russian audience sees the same content as before. Translations are additive — they add new language options without modifying existing ones.
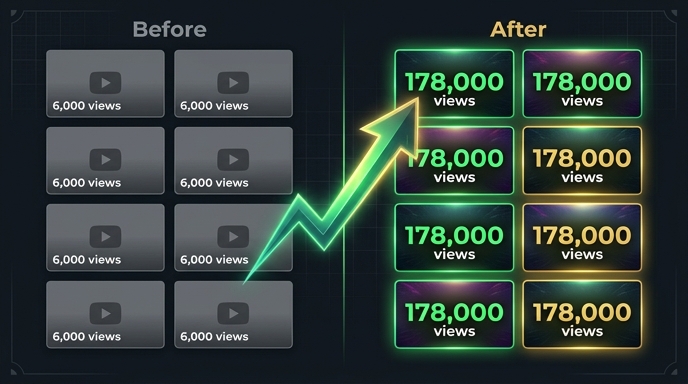
How long until I see results?
Most channels see first signals in weeks 2-3. Significant growth typically appears in months 2-3. Patience is essential — the algorithm needs time to index and test.
What if a translation is wrong?
You can edit any translation before pushing, or update it after publishing. VidLocalizer's inline editor lets you fix specific translations without regenerating the entire batch.
You've completed the beginner's guide. Your first videos are translated. Your channel is global. The next step is consistency — make translation a habit, monitor your analytics, and watch your international audience grow. Welcome to global YouTube.
Localize your YouTube channel today
3-day free trial · 80+ languages · cancel any time